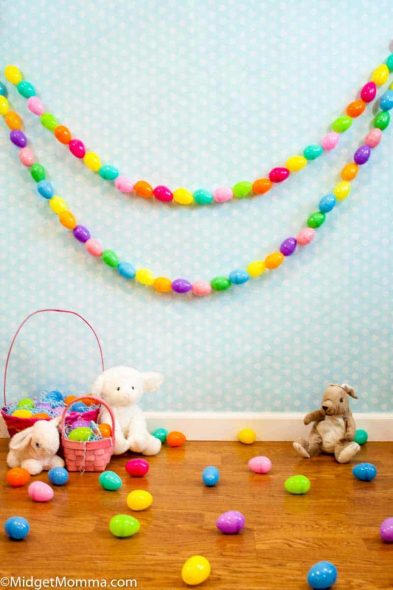
Making an Easter Garland: DIY Tutorial
An Easter garland is a fun and festive way to decorate your home for the holiday, and making your own is a great DIY project for families and friends. Whether you hang it on your mantle, drape it across your table, or use it to decorate a room, an Easter garland is an easy and affordable way to add some holiday cheer to your home. Here, I cna show you how to make a simple and stylish Easter garland that’s perfect for the season.
Materials needed:
- Easter eggs in various colors and sizes
- Twine or ribbon
- Scissors
- Hot glue
- Start by laying out your Easter eggs in the order you want them to appear on the garland. Choose eggs in a variety of colors and sizes to add interest and depth to your garland.
- Cut a length of twine or ribbon that’s long enough to reach across your desired space, with some extra length on either end to allow for hanging.
- Use hot glue to attach the eggs to the twine or ribbon. Start by gluing one end of the egg to the twine, then wrap the twine around the egg and glue the other end of the egg to the twine.
- Repeat this process for each egg, spacing them out evenly along the length of the twine or ribbon.
- When you have attached all of the eggs, you can use the extra length of twine or ribbon on either end to hang your garland. Simply knot the twine or ribbon on either end and then hang it using nails or picture hooks.
Your Easter garland is now complete! This simple and stylish garland is a great way to add some holiday cheer to your home, and it’s sure to be a hit with family and friends. Whether you’re making it for your own home or as a gift for someone special, this DIY project is a fun and easy way to get into the spirit of the season. So gather your materials, get creative, and start making your own Easter garland today!


